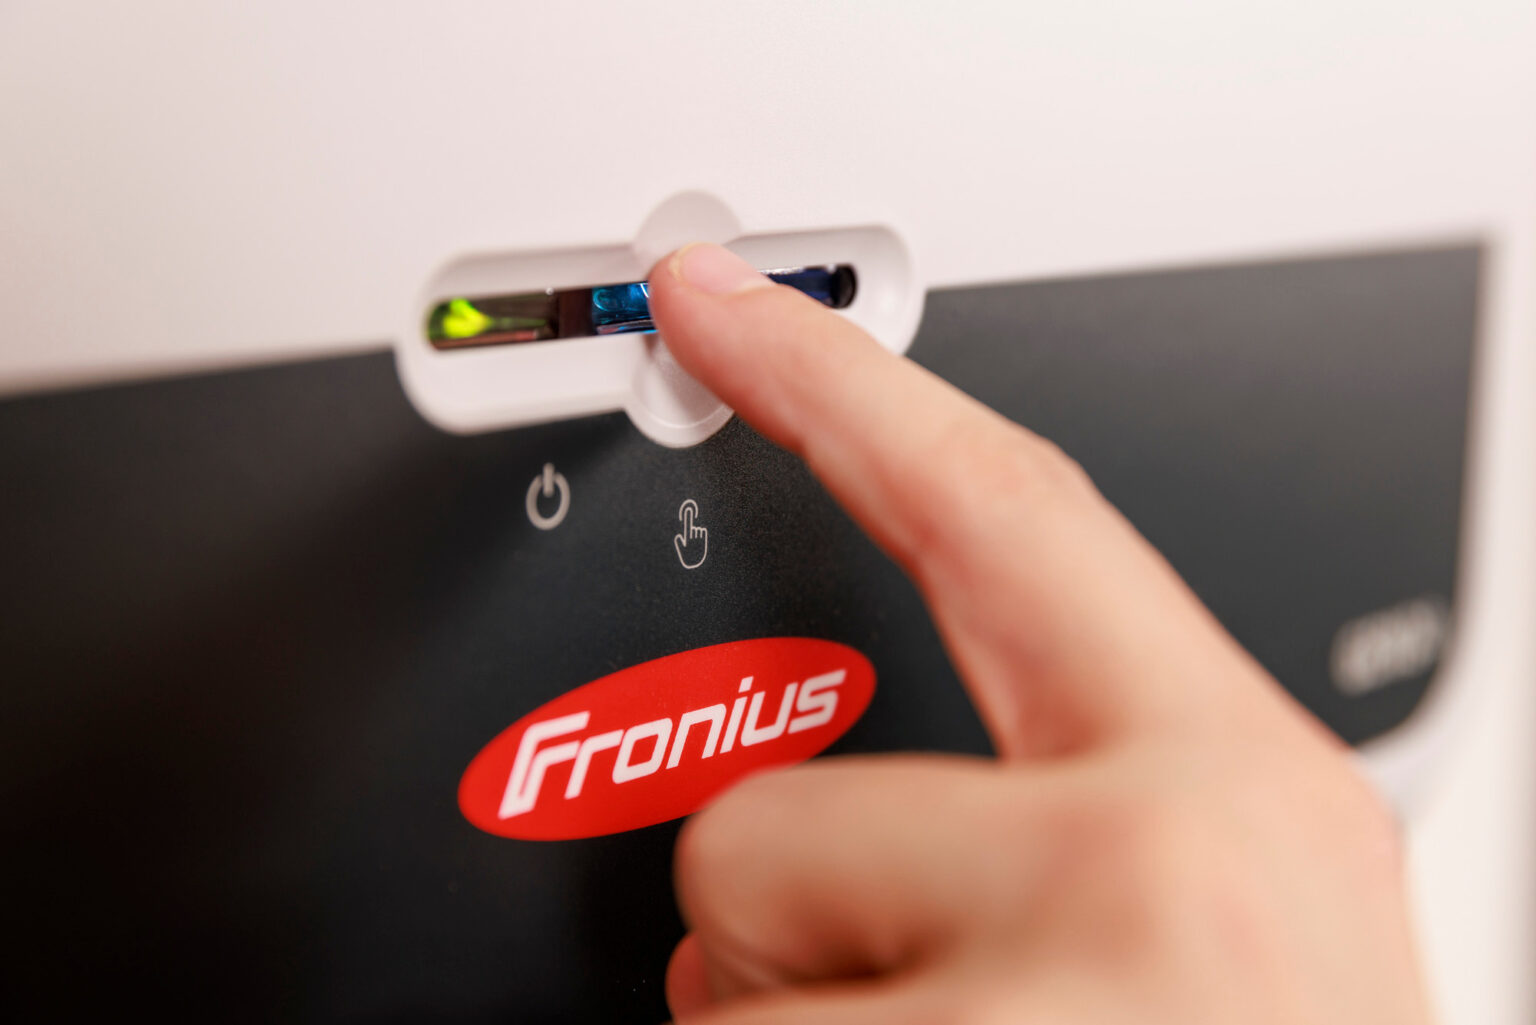
image: Fronius
At Powermate, we’re committed to making your solar energy experience seamless and efficient. Setting up Wi-Fi on your Fronius inverter is a key step in monitoring and optimising your solar system’s performance. Follow this easy guide to connect your Fronius inverter to Wi-Fi and start managing your solar energy conveniently.
What You’ll Need
- Your Fronius solar inverter
- A smartphone, tablet, or computer
- Your home Wi-Fi network name (SSID) and password
Step-by-Step Setup Guide
1. Register at Solar.web
- Create an account at solarweb.com.
- Verify your email after registration to activate your account.
2. Download the Fronius Solar.web App
- Install the Fronius Solar.web app from the App Store or Google Play Store.
- This app will serve as your go-to tool for monitoring your inverter’s performance.
3. Locate the Inverter Screen
- Find the built-in display on your Fronius inverter. This screen will guide you through the setup process.
4. Access Wi-Fi Settings
- Use the buttons on the inverter to navigate to the Setup Menu.
- Scroll to Wi-Fi Access Point, select it, and press Enter to activate the access point.
5. Connect Your Device to the Inverter
- On your smartphone, tablet, or computer, open your Wi-Fi settings.
- Look for the network named FRONIUS_240.##### and connect to it.
- The default password is typically 12345678 (check the inverter display for the exact password).
6. Open the Inverter’s Configuration Page
- Once connected to the inverter’s Wi-Fi, open a web browser and enter the IP address 192.168.250.181.
- This will take you to the inverter’s setup page.
7. Connect the Inverter to Your Home Wi-Fi
- On the setup page, navigate to Network and select Internet via WLAN.
- Choose your home Wi-Fi network from the list and enter your Wi-Fi password.
- Save the settings to establish the connection.
8. Verify the Connection
- Return to the inverter’s main screen to confirm it’s connected to your home Wi-Fi network.
- Look for indicators showing a successful connection.
9. Complete the Monitoring Setup
- Open the Fronius Solar.web app and follow the prompts to complete your setup.
- Enter details about your solar system, such as the system name and specifications.
Additional Support from Powermate
By completing these steps, your Fronius inverter will be connected to Wi-Fi, enabling easy monitoring and control of your solar energy system anytime, anywhere. At Powermate, we’re here to help if you encounter any challenges during the setup process. You can also find explanations and troubleshooting tips for Fronius state fault codes here.
For further assistance, feel free to reach out to our expert team or consult the user manual provided with your Fronius inverter.


